
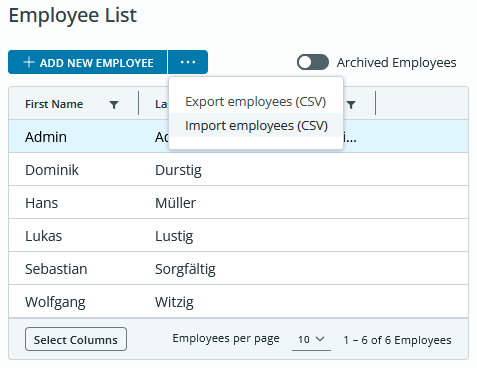
The “Import Employees” function allows you to create and edit multiple employees simultaneously.
After clicking “Import Employees,” a dialog box will open. In the window that appears, you can download a template. This template contains only the account you are currently logged in with.
To add additional employees, enter their information in the following lines.
We recommend using this feature to create employee records with only basic information for now. The work schedule, annual leave profiles, and holiday calendar for each employee can then be easily added to their master data in the web interface.
id
This field displays an employee’s internal identification number. When creating a new employee, leave this field blank.
email
If you enter an email address for the employee in this field, they will automatically receive an invitation to your company’s time tracking system. If the employee clicks the link in the invitation email, they can set a password and will have created an employee account.
In the employee account, an employee can only view their own time tracking data and cannot edit it. Only administrators and owners can view all time tracking data and edit it. See the “role” field.
If you delete the email address from this field and save the master data, the employee’s online access will be deleted. The time tracking data will remain intact.This field is required for administrators and owners.
role
In this field, you can set this employee’s permissions.
An employee has the lowest permission level. In their employee account (if one has been created; see the “email” field), they can only view their own time tracking data and cannot edit it. If web entries are permitted for this employee (see the “webRecordsAllowed” field), they can only create entries for the current time in their employee account.
An administrator can view and edit the master data and time tracking data for all employees. They can also modify all settings relevant to time tracking, such as work schedules or time clocks.
An owner can also edit all settings for the business account, such as payment methods.
The account used to create the company is automatically an owner.
An administrator can assign the Administrator role to other employees, but no higher. Only account holders can create additional account holders.
To create an employee, enter “employee” here.
To create an administrator, enter “admin” here.
To create an owner, enter “owner” here.
This field is required.
firstName
The employee’s first name. This field is required.
lastName
The employee’s last name. This field is required.
workingTimeModellID
This field displays the internal reference number of the working time model.
holidayCalendarID
In diesem Feld wird die interne Referenznummer des Feiertagskalenders angezeigt.
salutation
The employee’s salutation.
personnelNumber
Here you can optionally enter an internal reference number.
telephoneNumber
You can optionally enter a phone number here.
mobilePhoneNumber
You can optionally enter a cell phone number here.
rfidToken
If you want to use the time tracking solution with a time clock, you must assign an RFID card or RFID token to the employee in this field. To do so, enter the 14-digit code printed on the card or token into this field.
Please note the following formatting:
– Unlike the codes printed on the cards and tokens, this code must be entered without spaces.
– Letters must be capitalized.
– There is no letter “O” in these codes; anything that looks like an ‘O’ is the number “0” (zero).
street / zipCode / city / country / emailPrivate / telephoneNumberPrivate / mobilePhoneNumberPrivate / birthday
This information is also optional and is not used by the system.
evaluationStart
Select the date on which you would like to start recording this employee’s time data using TimeRecording. Any records prior to this date will not be included in the calculation.
This field is required.
evaluationEnd
Select the date up to which you want to record this employee’s time tracking data using TimeRecording. Any records after this date will not be included in the calculation.
companyEntry
Here you can enter the date the employee joined the company.
companyExit
Here you can enter the date on which the employee left the company.
notes
You can optionally enter notes here.
webRecordsAllowed
If you enable this feature, the employee can create online clock-in and clock-out entries for the current time in their employee account, provided one has been created (see the “email” field).
Enter “true” here if you want to allow web bookings.
Enter “false” here if you do not want to allow web bookings.
This field is required.
locale
Here you can set the language in which time tracking data for this employee is displayed. This selection affects the display of the employee’s account in the web interface and the format of this employee’s PDF report.
Enter “de” for German or “en” for English here.
This field is required.
When saving the file, be sure to save it in .csv format
You can then upload the file in the “Import Employees” dialog box.
Employees who have been successfully added are displayed in a green banner. Employees for whom an error occurred are displayed in a red banner.
You need to load content from reCAPTCHA to submit the form. Please note that doing so will share data with third-party providers.
More Information