

Quick Guide
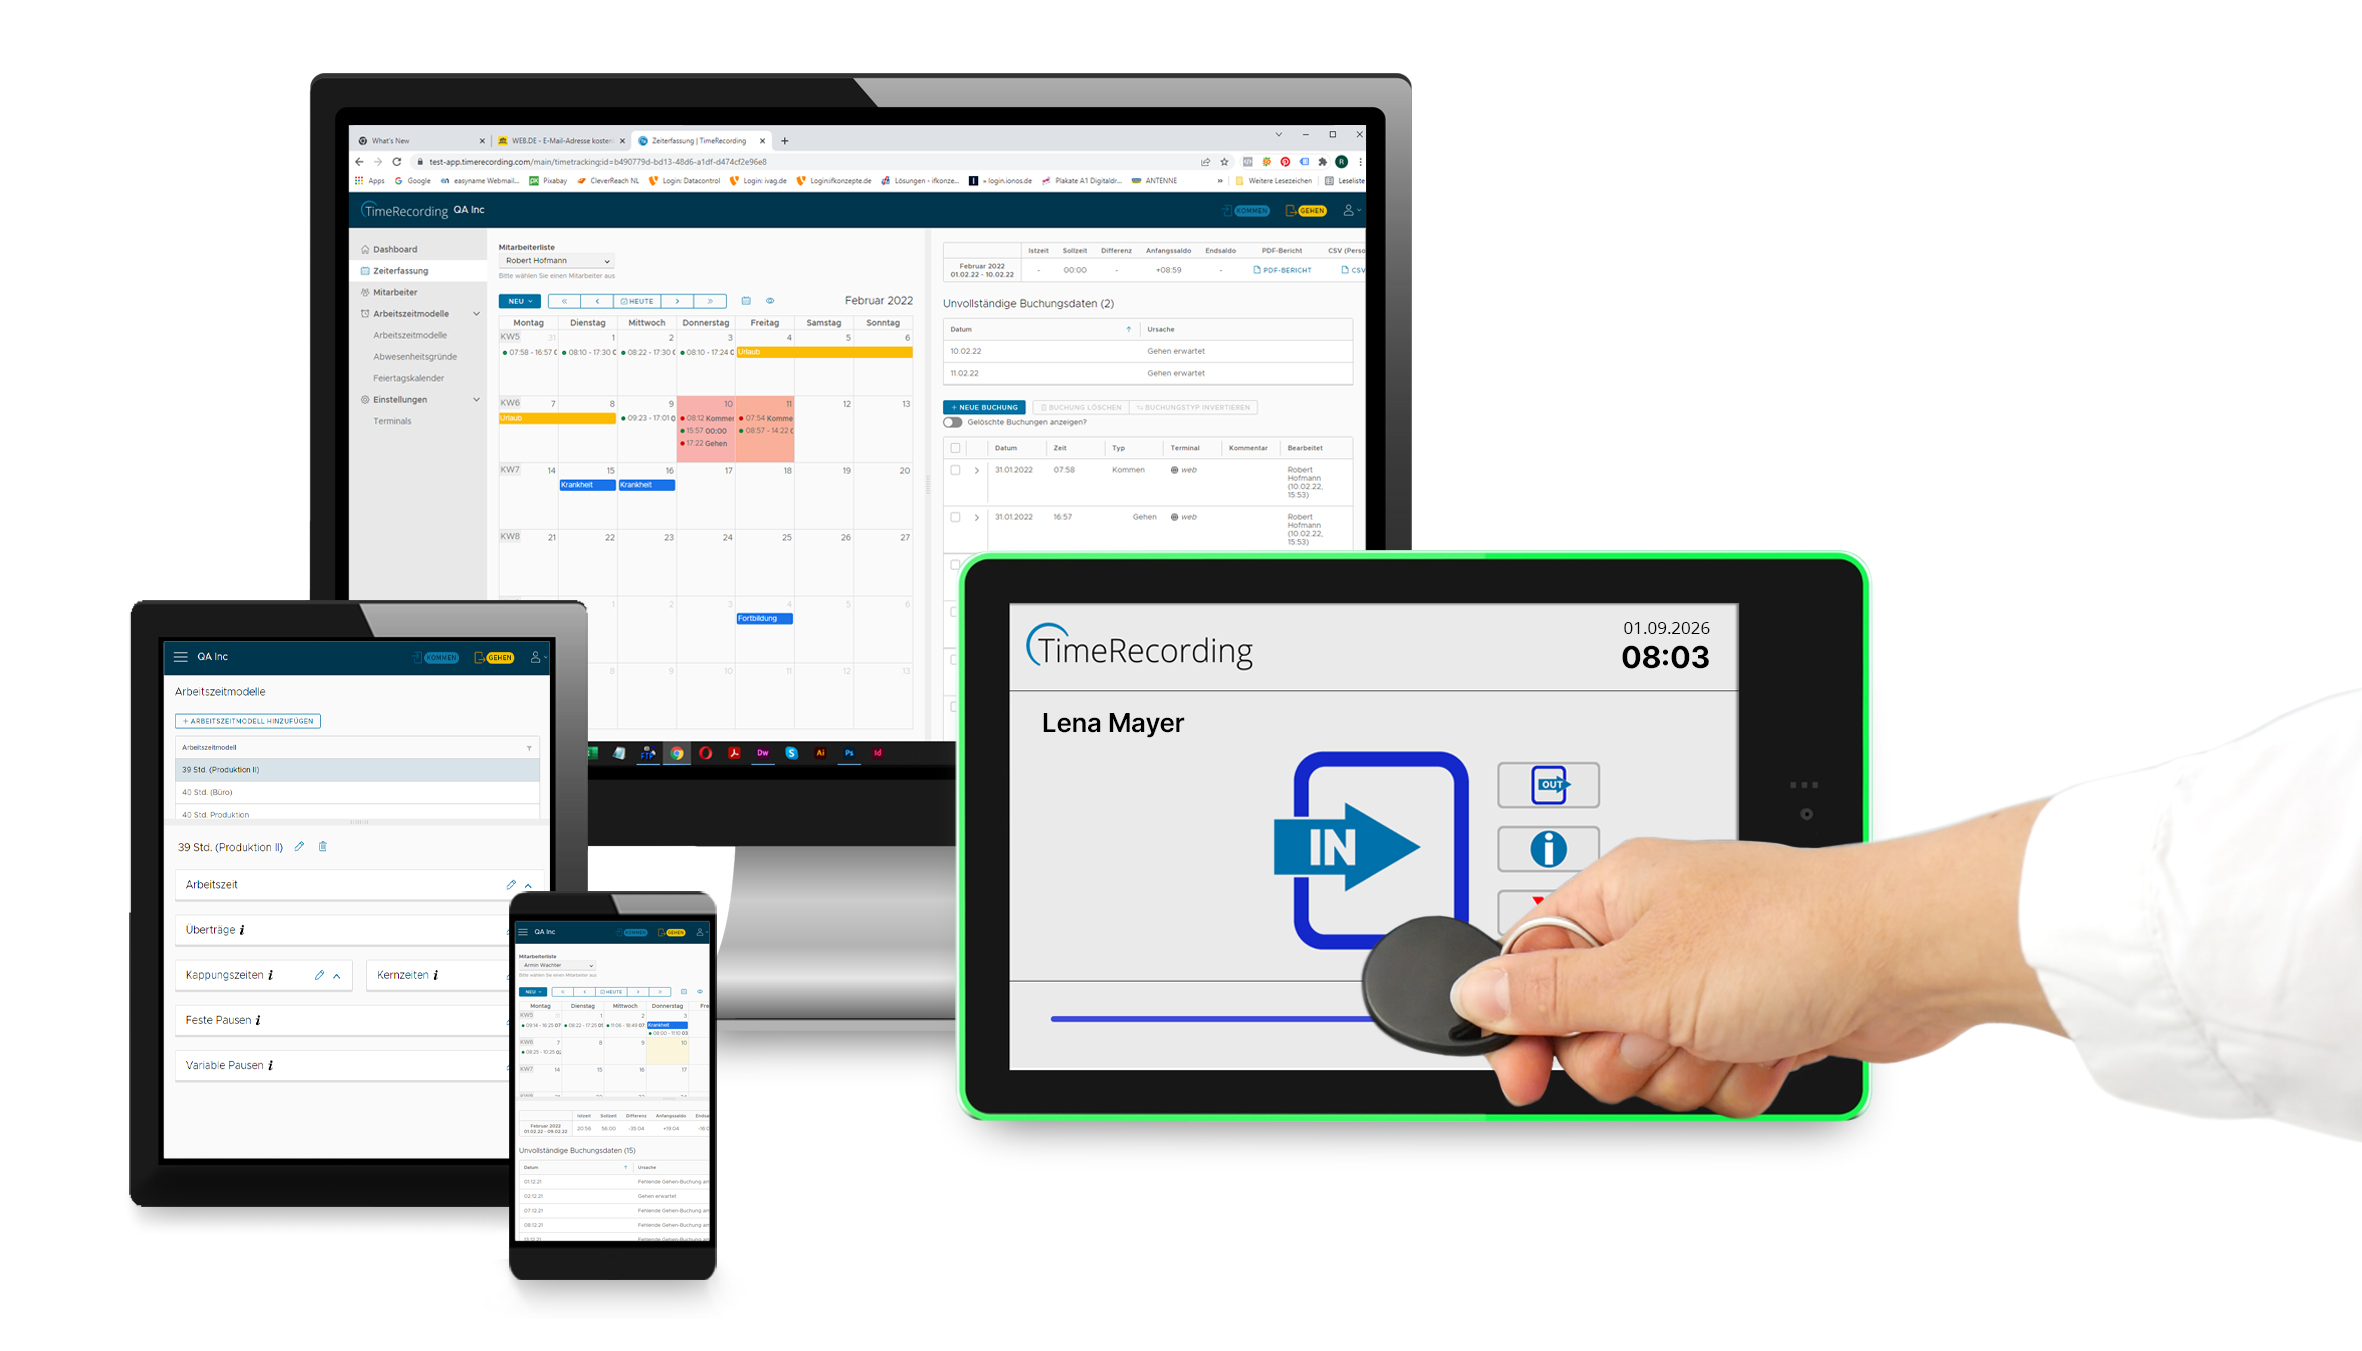
Manual ID900 Time Clock
 |
Attention:
 An account on the IDENTsmart TimeRecording platform is required to
operate the time clock. Please set up an account first before proceeding.
An account on the IDENTsmart TimeRecording platform is required to
operate the time clock. Please set up an account first before proceeding.
Register
your IDENTsmart TimeRecording Account here:
https://timerecording.com/start
 |
|
No. |
Function |
|
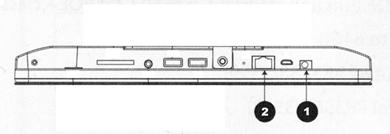
1 |
DC in power supply pot |
|
2 |
ETH RJ45 with PoE |
|
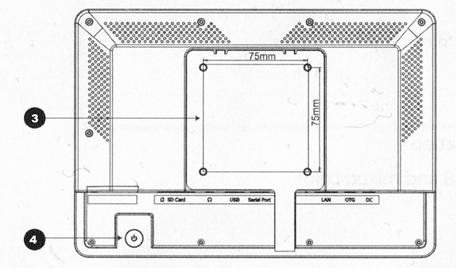
3 |
VESA 75x75mm |
|
4 |
Factory reset button |
1.
Attach
ETH cable to RJ45 (2) socket, if you want to use Ethernet.
2.
If
you want use PoE, skip steps 3-5.
3.
Attach
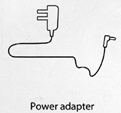
the power plug for your region to the power supply.
4.
Plug
the cable into the socket (2) located on the back of the time clock.
5.
Connect
the power supply to the mains supply (100 – 240 volts AC).
6.
Wait
for the time clock to start and follow the instructions on the screen.
7.
Select
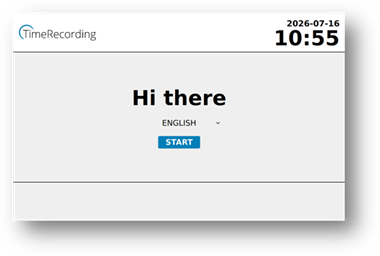
your Language and press START on the screen.
8.
Check
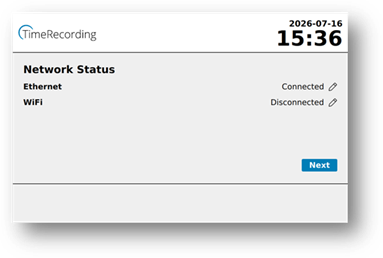
the status of your internet connection, modify the settings, if necessary, by
pressing the pencil or advance by pressing NEXT.
9.
Example:
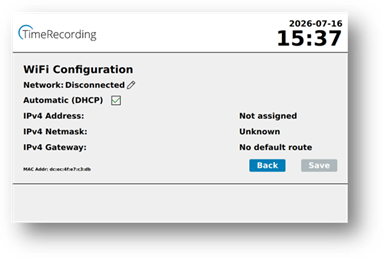
Configuration WiFi
Select the Pencil Icon on the right side and on the next screen select the
Pencil right side of NETWORK:.
10.
Select
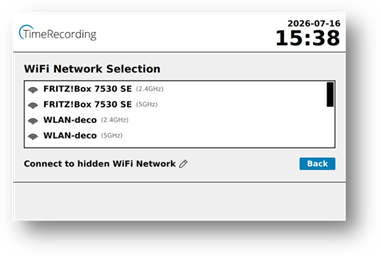
your WiFi Network.
11.
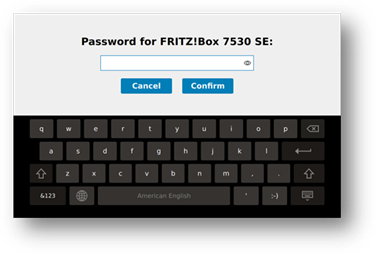
Enter
the Password for selected WiFi Network and press
CONFIRM.
12.
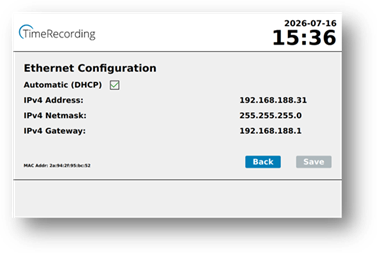
Press
the BACK button to proceed or uncheck the Automatic (DHCP) box to change the IP
settings.
13.
Hit
the NEXT button to proceed.
14. The next step requires an IDENTsmart TimeRecording
account. If you have not registered an account, please do so now at: https://timerecording.com/start
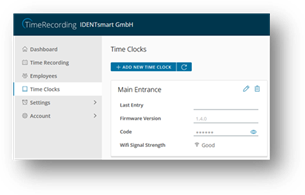
15. Link the time clock with your TimeRecording account:
a. Open your TimeRecording account. https://app.timerecording.com/terminals
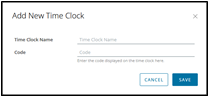
b.
Enter
a unique name for the time clock (Company Name, Reception, Front Door, Break
Room, Warehouse, etc.) and then enter the code shown on the time clock display
into the “Code” field.
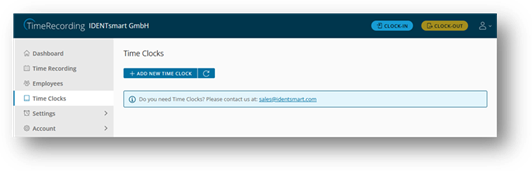
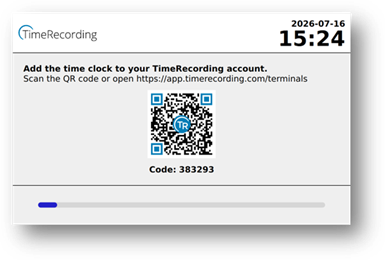
16. After successful linking with the
TimeRecording account, the time clock will be listed on the “Time
Clocks” page. The time clock is now ready for use.
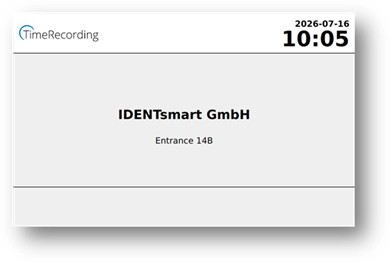
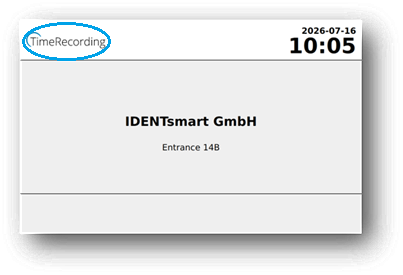
1. Press the icon TimeRecording on the
top right corner five times.
2. Press OPEN ADMIN MENU to proceed.
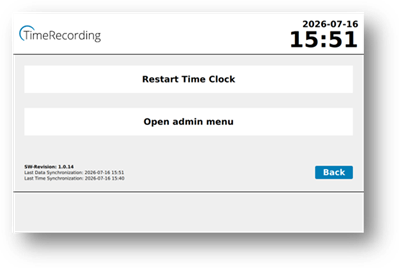
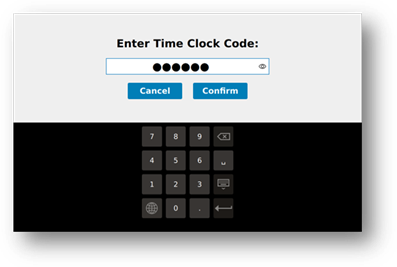
3. 
 Enter the code to unlock the admin
menu, and then select the required function. The code can be found on the time
clock configuration page of your TimeRecording account.
Enter the code to unlock the admin
menu, and then select the required function. The code can be found on the time
clock configuration page of your TimeRecording account.
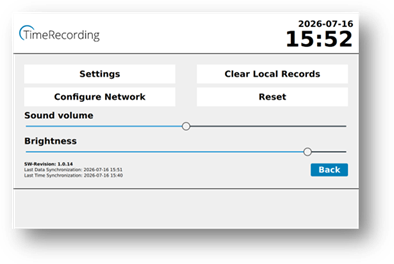
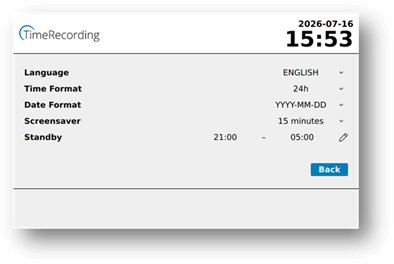
4. Administration menu for local
settings.
Found
the button (4) located on the backside of the time clock und press it 5 times
in short intervals. The time clock will restart and come back alive with the
factory settings.
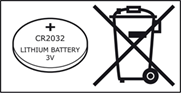
The time clock includes a CR2032
lithium button cell battery, which provides power to the internal clock in the
event of a power failure. The battery’s lifespan is designed to be more than
five years.
Keep
batteries out of the reach of children. Swallowing a battery can have
life-threatening consequences. If necessary, seek medical attention
immediately.
Before
disposing of the battery, tape the poles with adhesive tape to prevent
short-circuiting.
·
Disconnect
the time clock from all connections.
·
Remove
the screws on the back of the time clock and open the enclosure.
·
Remove
the CR2032 lithium button cell from the holder.
·
Dispose
of the time clock and battery separately according to recycling and reuse
regulations.
The symbol with the crossed-out waste bin
indicates that the product must be disposed of separately from household waste.
The product must be recycled according to local disposal regulations. By
separately disposing of the product, you contribute to reducing incineration or
landfill waste and minimize potential negative impacts
on human health and the environment.
User Guide ID900 Time Clock EN | V1.0.0
| as of: 07/2026
© 2016-2026 IDENTsmart GmbH, all
rights reserved. All information contained in the document is subject to
change.
IDENTsmart assumes no liability
whatsoever for the correctness or completeness of the information contained.
You need to load content from reCAPTCHA to submit the form. Please note that doing so will share data with third-party providers.
More InformationYou are currently viewing a placeholder content from reCAPTCHA. To access the actual content, click the button below. Please note that doing so will share data with third-party providers.
More Information